 panovi
How to lend your iPhone safely — keep it on panovi with Guided Access
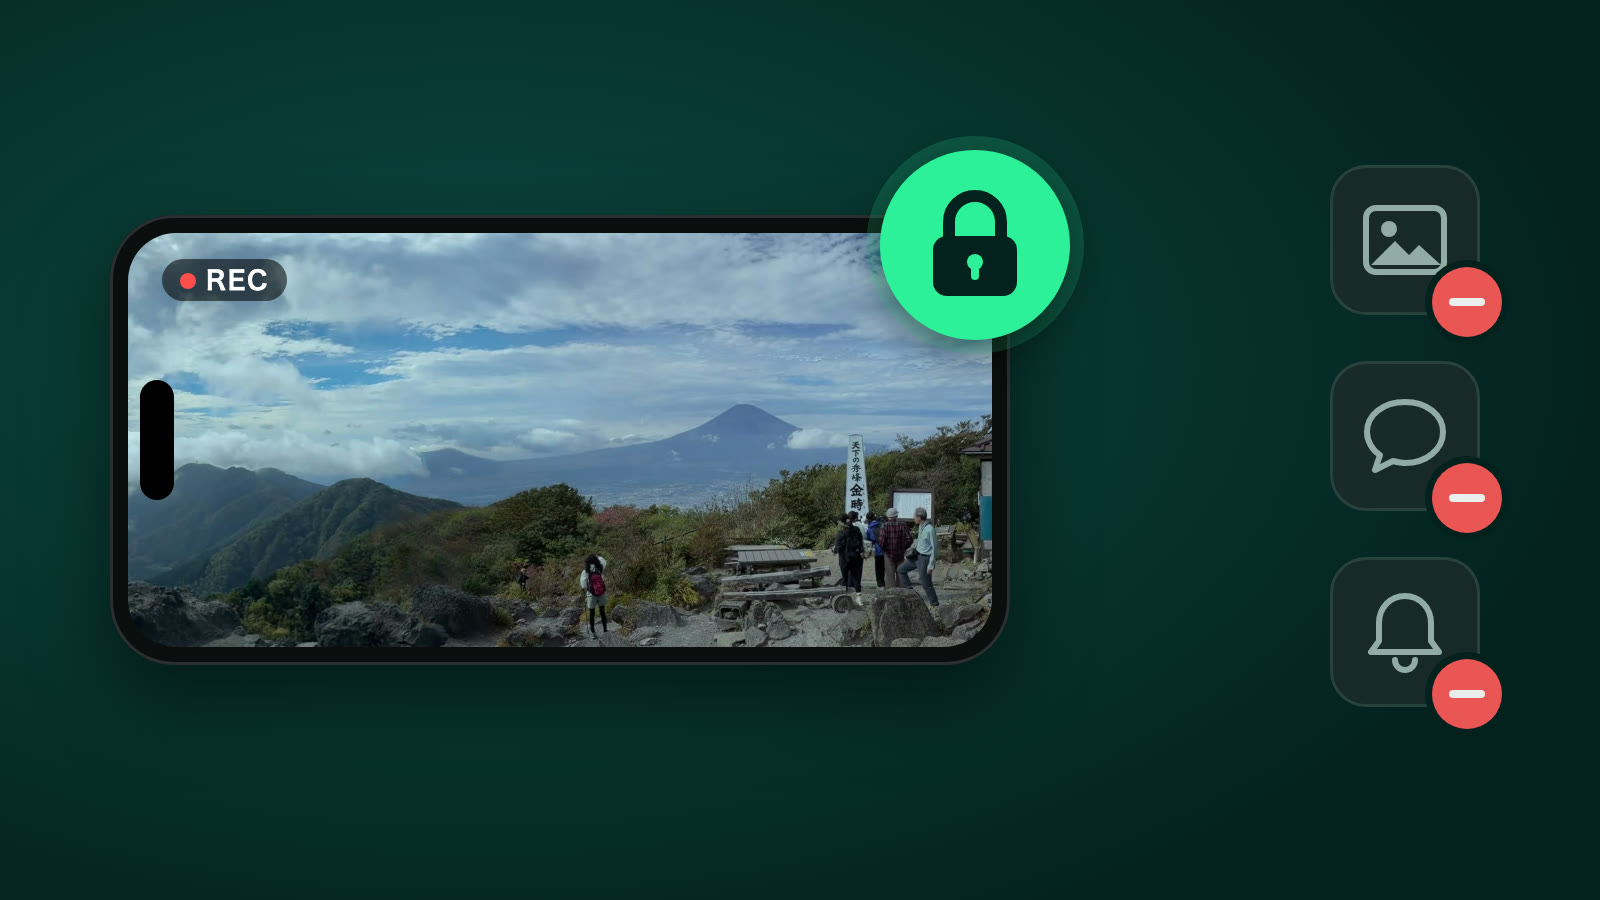
In short: when you lend someone your iPhone, use Guided Access, which is built into every iPhone. Turn it on once on the lender's iPhone, then open panovi, triple-click the side button, and tap Start. That's it — the iPhone stays on the panovi screen, and nobody can see the Home Screen, Photos, Messages, or notifications. When you're done, triple-click again and enter the passcode to end it. The second iPhone for a panovi panoramic video can be a borrowed one, so this is the small bit of prep that makes "Can I borrow your iPhone?" an easy ask.
Why lending matters
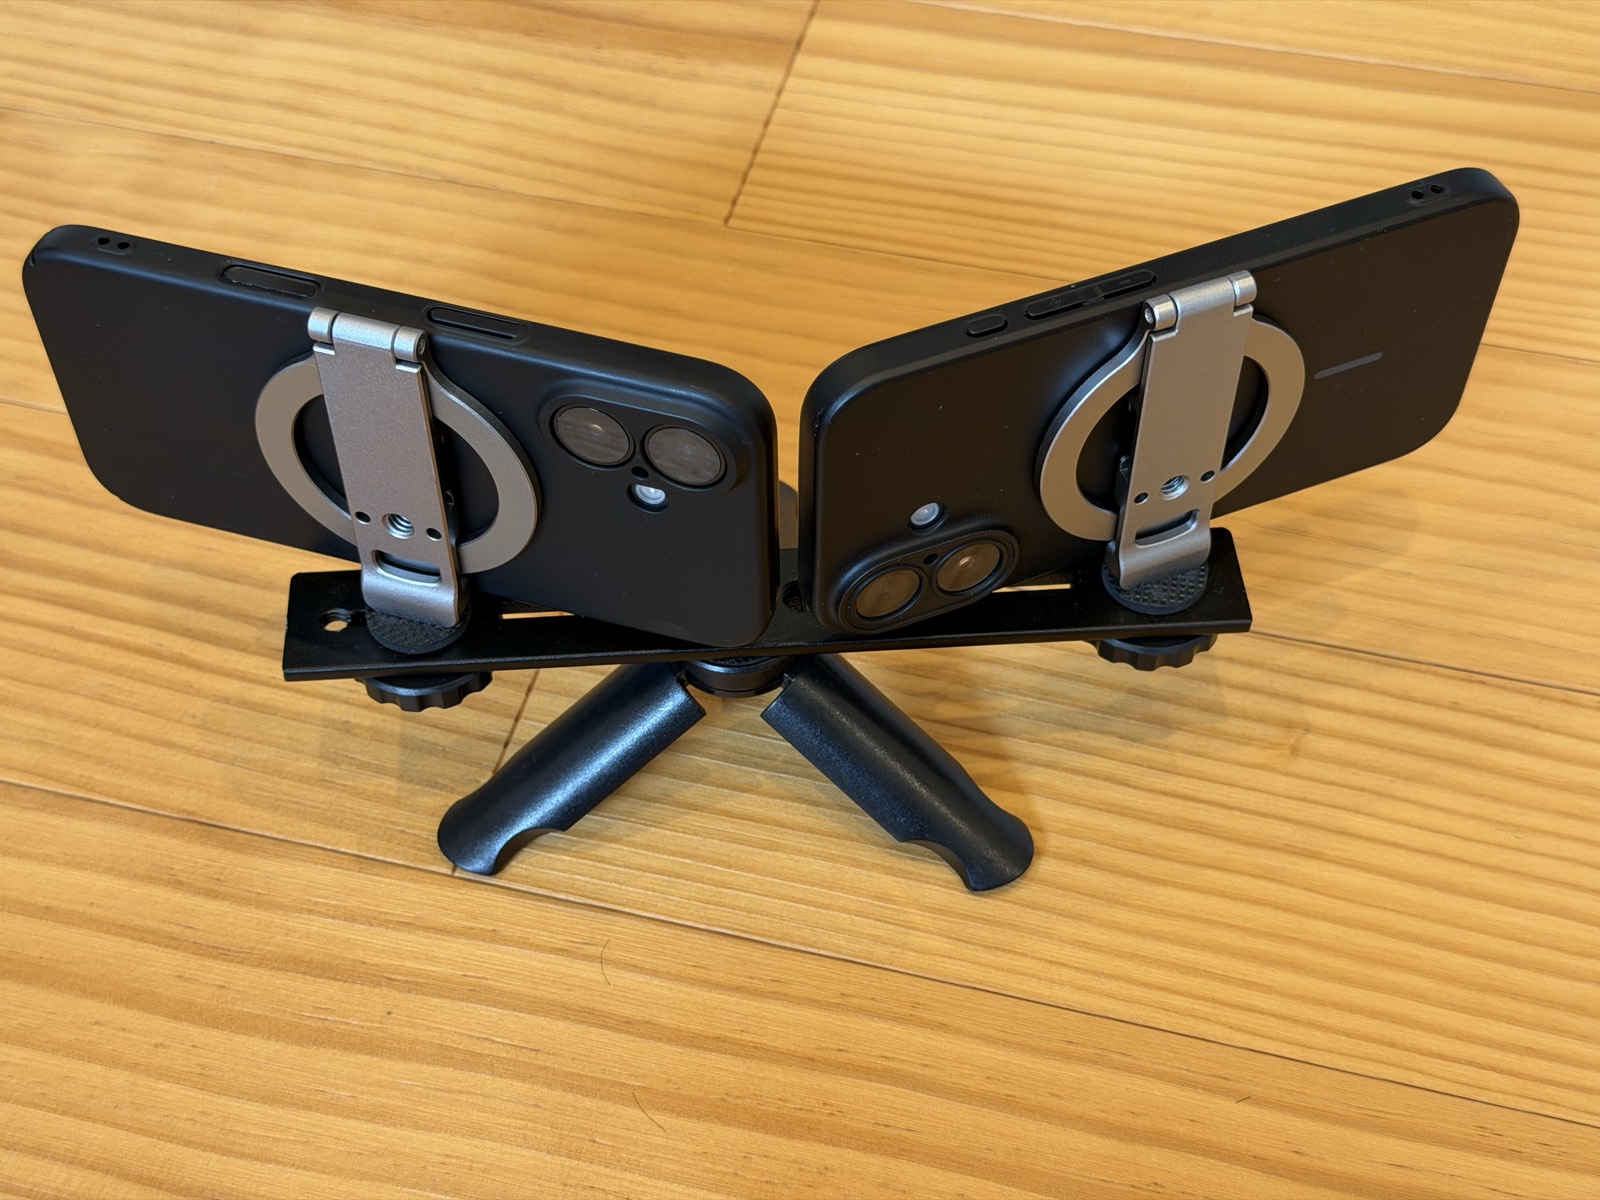
panovi turns the left and right footage from two iPhones, side by side on a tripod, into one panoramic video. Not many people own two iPhones, so borrowing the second one from family or a friend is the easiest way to get started.
- The borrowed iPhone can be a different model with a different Apple ID. They pair just by scanning each other's QR code (iOS 18 or later)
- The lender only needs to install the free app. Recording and transfer are free, so lending never costs them anything
- No internet is used. The two iPhones connect directly
Still, from the lender's side, it's natural to wonder, "Will they see my photos or chats?" or "What if an embarrassing notification pops up?" That's where Guided Access comes in.
What Guided Access does
Guided Access is a built-in iPhone feature that locks the iPhone to a single app. There's nothing extra to install.
| On the lent iPhone | Without Guided Access | With Guided Access |
|---|---|---|
| Go back to the Home Screen | Possible | Not possible |
| Open other apps like Photos or Messages | Possible | Not possible |
| Notifications (Messages, chat apps, etc.) | Shown on screen | Not shown |
| Control Center / Notification Center | Can be opened | Can't be opened |
| Ending it | — | Needs the passcode (or Face ID) |
panovi itself never looks at the photos on the borrowed iPhone, either. It only asks Photos for "add only" access, which it uses to save the videos you record. It can't read any of the photos or videos already there.
One time only: turn on Guided Access
Do this on the lender's iPhone before the shoot (the day before, if you can).
- Go to Settings > Accessibility > Guided Access and turn it on
- In Passcode Settings > Set Guided Access Passcode, choose an unlock passcode. If it's different from the usual lock screen passcode, the owner doesn't have to share theirs
- On the same screen, turn on Face ID (Touch ID on models with a Home button). Then the owner can end it with their face or finger, which is handy
Note: You can leave Display Auto-Lock in the Guided Access settings as it is. panovi keeps the screen from turning off while it's open, so the iPhone won't lock itself in the middle of recording.
When you shoot: open panovi and tap Start
- Open panovi on the lender's iPhone, scan the QR code, and go as far as "Use as camera"
- Quickly triple-click the side button (on models with a Home button, triple-click the Home button)
- Under Options at the bottom left, leave Side Button off. That way, an accidental press won't turn off the screen and stop the recording
- Tap Start at the top right
Then just put it on the tripod and shoot as usual. The screen still responds to touch, so checking the setup and recording work exactly the same.
Note: If you turn off Touch, the screen won't respond at all, and you won't be able to use panovi either. Normally, leave it on.
When you're done: end it and clean up
- Triple-click the side button and enter the passcode (if Face ID is on, double-click the side button and end it with your face)
- Tap End at the top left
- Once you've confirmed the footage has transferred to your iPhone, ask the owner to delete it
The footage also stays on the borrowed iPhone (in panovi's "Videos on This Device" and in the Camera Roll). The stitching happens on your iPhone, so once the transfer is done, the borrowed one doesn't need it. Along with your thanks, ask them to delete it — and to empty "Recently Deleted" in Photos too, so the space really comes back.
Checklist for lending and borrowing
- The borrowed iPhone is on iOS 18 or later and has panovi installed (both on the latest version)
- Guided Access is on on the lender's iPhone, with an unlock passcode set
- The battery is well charged. For long shoots, bring a power bank too
- There's plenty of free space. Each side records in 4K, so the longer you shoot, the more it uses
- After the shoot, once the transfer is done, ask the owner to delete the footage from the borrowed iPhone
Frequently asked questions
What happens if a notification comes in during Guided Access?
It isn't shown. Messages and app notifications stay hidden until Guided Access ends, so there's no need to worry about anyone seeing the owner's messages while the iPhone is lent out.
What if I forget the Guided Access passcode?
If Face ID (or Touch ID) is turned on, the owner can end it with their face or finger. So you're not relying on the passcode alone, we recommend turning it on during the first setup.
Does it cost the owner of the borrowed iPhone anything?
No. Recording and transfer are free. The only thing that can cost money is stitching 3 minutes or longer, and that's only on your iPhone, the one doing the stitching. panovi never charges anyone on its own.
Can panovi see the photos on the borrowed iPhone?
No. panovi only asks Photos for "add only" access, to save the videos you record. It can't read any of the photos or videos already there, and it never uploads footage to the internet.
Can a different model, or an iPhone with a different Apple ID, be the second iPhone?
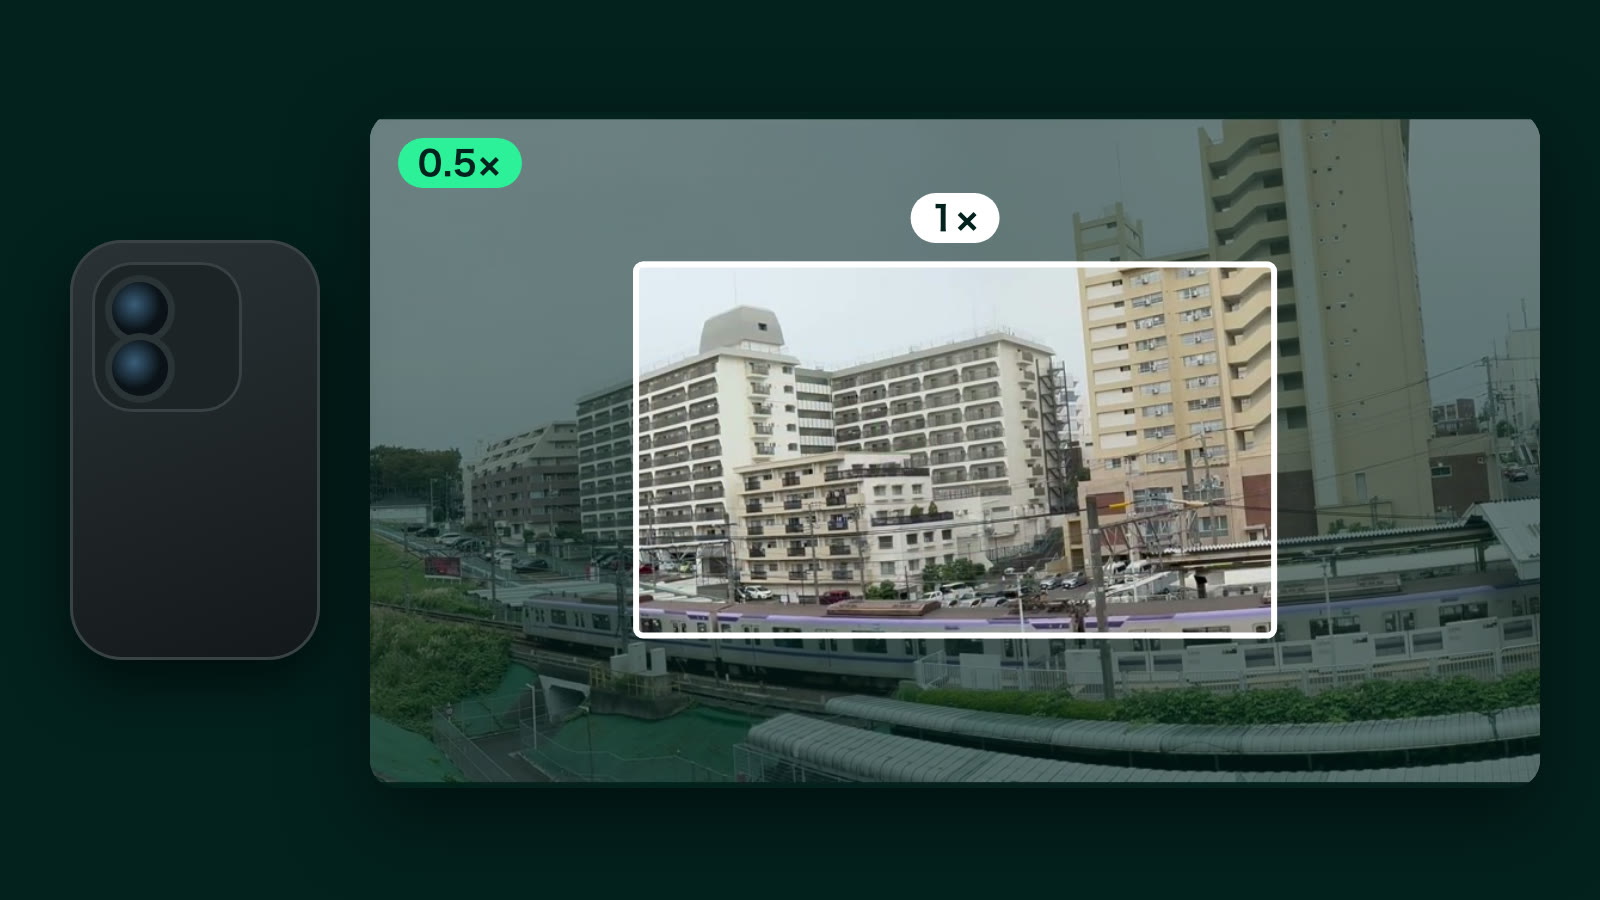
Yes. Any two iPhones pair just by scanning each other's QR code (iOS 18 or later). panovi automatically picks a lens both can use.